After extending the hard disk of the VM in ESXi or any other hypervisor, reboot the VM and boot using a bootable GPARTED iso image.
Once the GPARTED gui comes up, confirm that the free space is showing up and then select the partition which needs to be extended and use the slider to extend it my moving it towards right side. Then click on SAVE to write the changes. We are done here so we can now reboot the machine to claim the newly added space in the OS. If the disk is 100% used then the OS will not let you make/save any partition chanes to the disk which is counter intutive but that is how it is designed so when the OS is rebooted, press escape button on keyboard and then select advanced ubuntu startup options and drop to root shell. Once here, run apt-get clear && apt-get autoremove this will remove enough space to enable you to write changes to the disk.


After the reboot, run these commands in this sequence to extend the volume.


######## ANOTHER METHOD #########
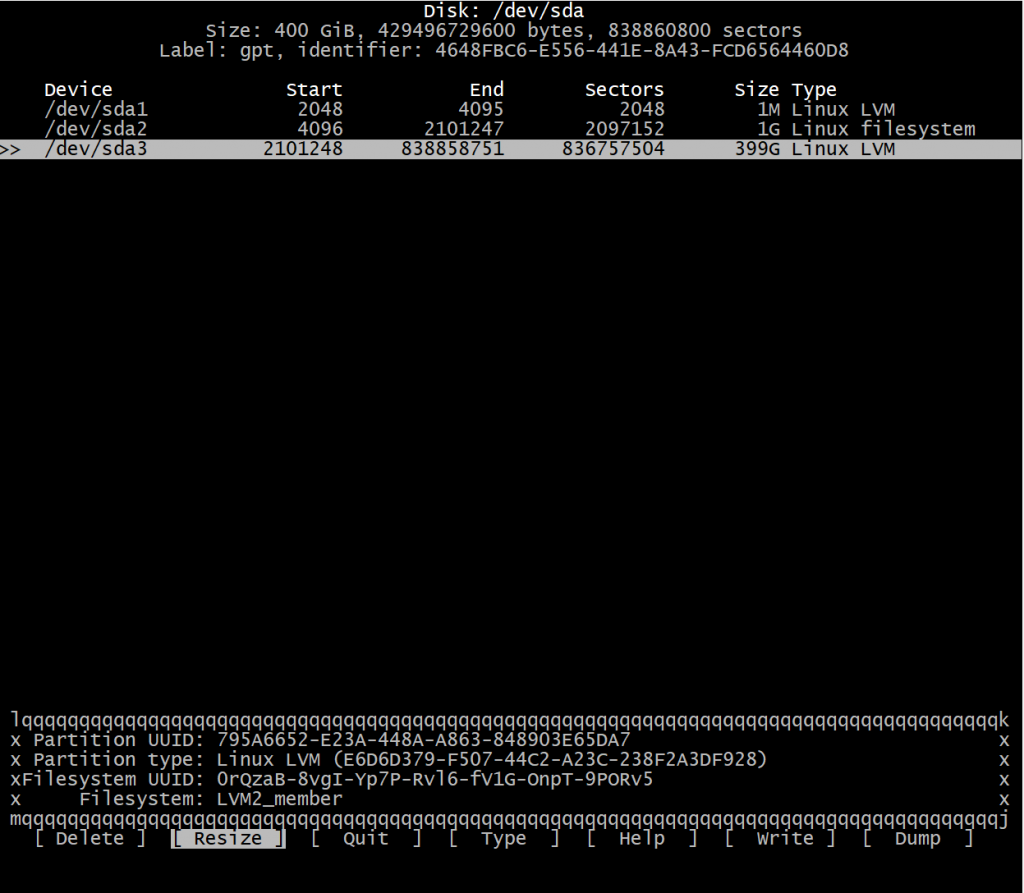
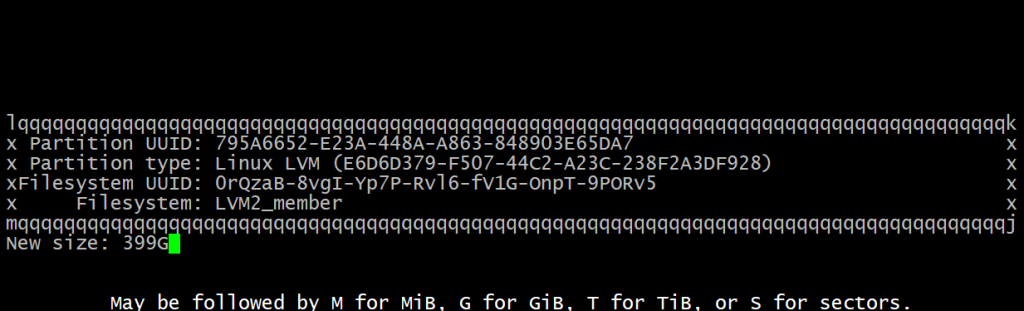
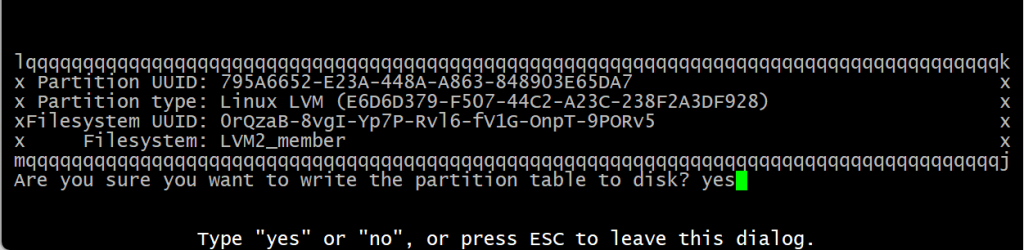
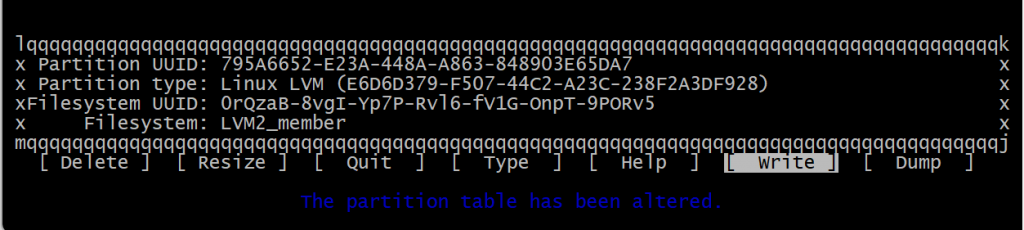
sudo partedprint free space(This will show the partitions with numbers and the free space, we will use the partition number and free space next)resizepart <NUMBER> <RESULTING SIZE AFTER THE EXPANSION (under the column 'End' i.e. 85.9GB>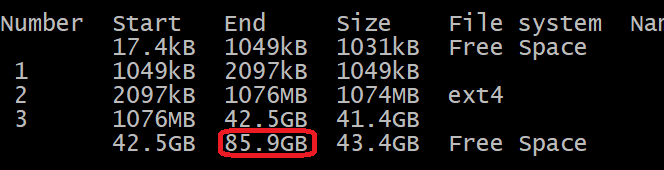
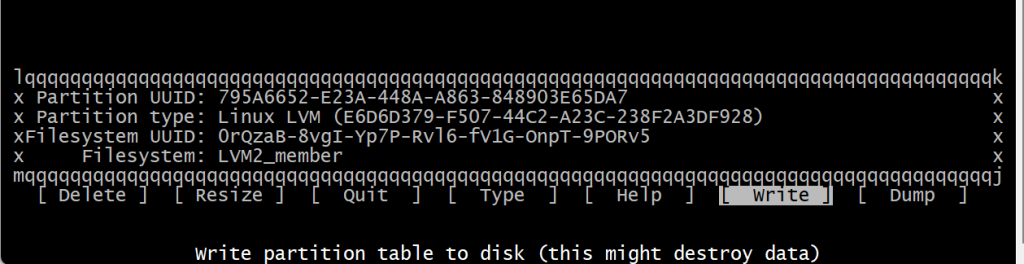
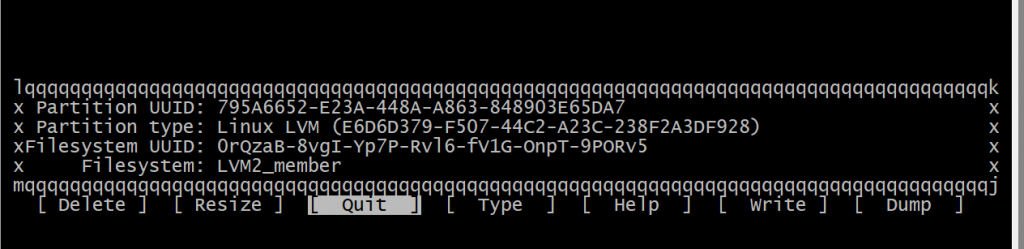
writequit- sudo lsblk (Note down the name of the partition and volume)
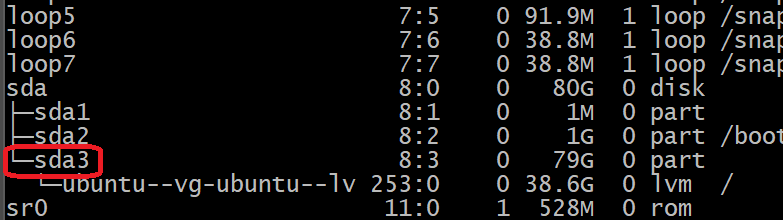
- sudo pvresize /dev/sda3 (it was /dev/sda3 in this case as shown in output of lsblk, make sure it is correct)
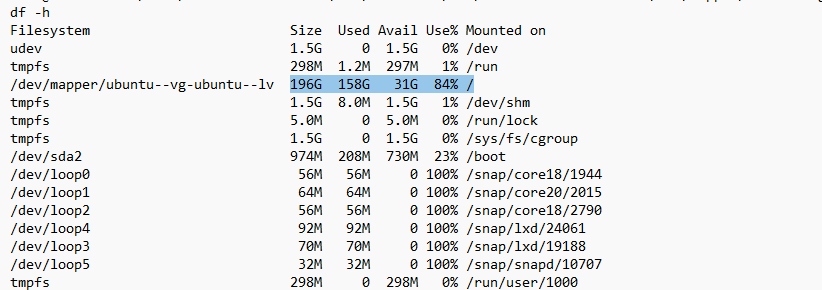
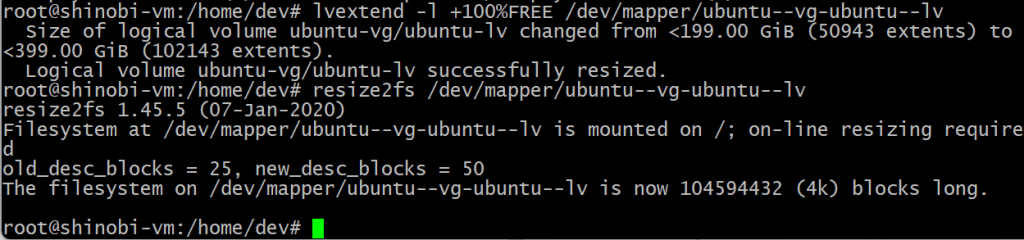
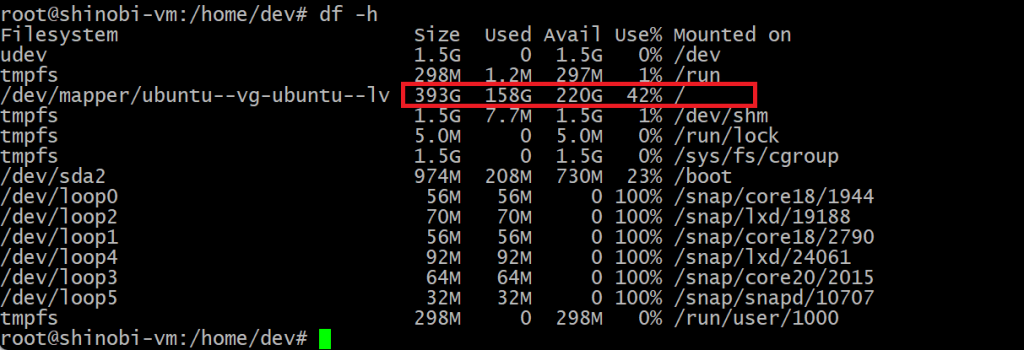
- sudo lvextend -l +100%FREE /dev/mapper/ubuntu–vg-ubuntu–lv (the name is from the df -h output)

- sudo resize2fs /dev/mapper/ubuntu–vg-ubuntu–lv
- df -h (to check the resizing)